Sunday, May 27, 2012

Fig, Pear and Blue Cheese Tart


Got Merlot? Yes. Then have I got the appetizing small plate tart for you! Fig, Pear and Blue Cheese pair up so well together to create a contrasting flavor explosion in your mouth.  I'm not sure why I am so hyped about Blue Cheese lately, but here is another deliciously easy treat.

What? No Merlot? That's perfectly fine this pairs well with any sparkling beverage, something that has an effervescence to help cleanse the pallet in between bites.

By the way, although the photo shows a fork, I didn't use it  to gobble this tart up.  The crispy puff pastry was sturdy enough to lift each piece without flopping the toppings into my lap. 


Okay let's get started.  Here's what you'll need:

Preheat the oven to 400 degrees


1 frozen puff party sheet thawed, follow box instructions for thawing
1 small Pear cored and diced
1/2 C Figs chopped
1/4 C Blue Cheese, crumbled
3T Fig preserves


 Chop the Figs and Pear and crumble the Blue Cheese and set aside.


Carefully unfold your puff pastry  and place it on a baking sheet.  I lined mine with parchment paper, but if your pan is non-stick there really is no need to do that. Next take a butter knife and score the pasty about one inch in from the edge to create a frame.  Don't cut clean through the party though you don't want it to detach. 


Next, take a fork and pierce the entire surface inside the framed you just created.  Now bake in the oven on 400 degrees for 10 minutes.  Remove from oven.  You have to pre-bake the pasty otherwise you'll have a uncooked doughy bottom and that would be just plain gross.

 Staying inside the lines spread a generous layer of preserves onto the baked pastry

Now simply sprinkle your Fig, Pear and Blue Cheese on top.  Be sure every bite gets a little bit of all the ingredients. 

Time to toss it back into the oven, again on 400 degrees for 10-15 more minutes. 


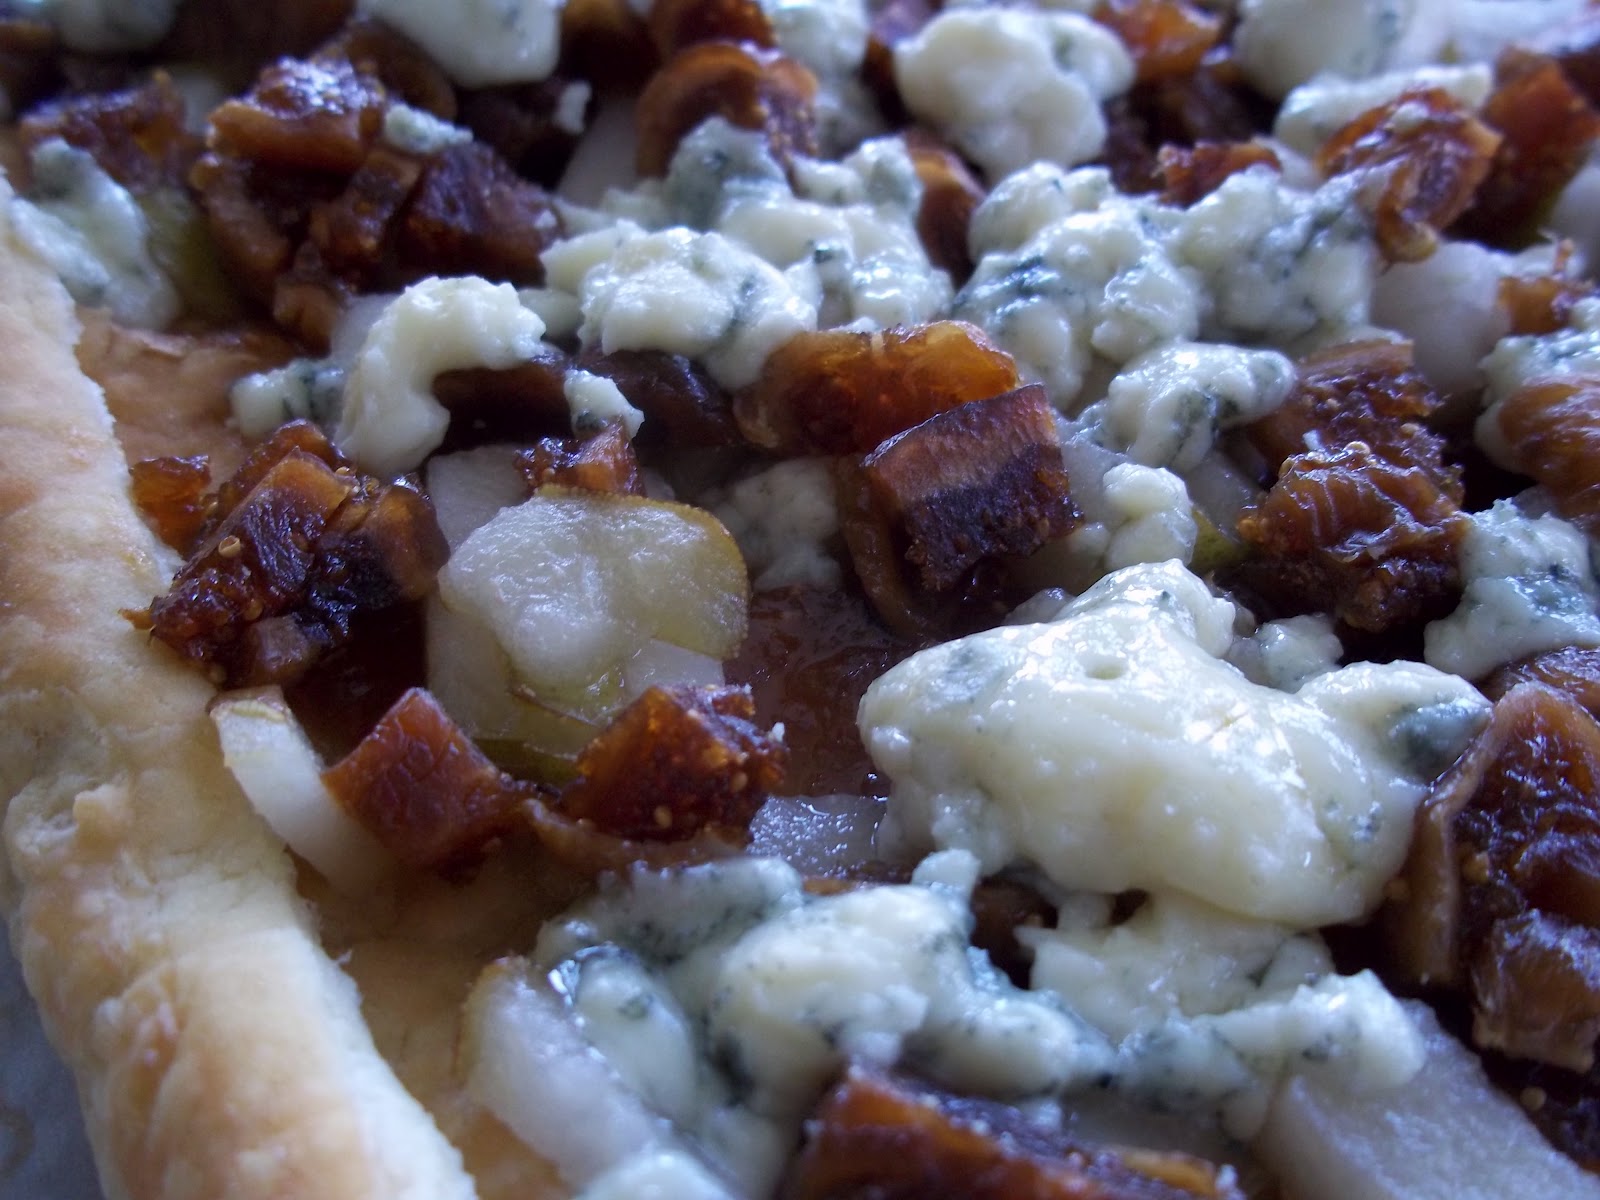
When done remove from the oven.  Place your Fig, Pear and Blue Cheese tart on a serving tray and allow to cool slightly.  Then cut into slices.  I cut mine into nine equal squares using a pizza wheel. 


 Yummy!


Monday, May 21, 2012

Watermelon Blue Cheese Arugula Salad w/ Reduced Balsamic Dressing

This is the perfect warm weather salad.  The sweet watermelon mingles with the bitterness of the arugula and balsamic.  Add to that the pungent creaminess of the blue cheese.  Your taste buds just might slap you!!
I saw a watermelon just sitting there on the counter and my original plan for a (Fig & Blue Cheese Tart) went right out the window.  Quickly I grabbed a chef's knife and sliced it open and it was perfectly ripened, very sweet and oh so juicy. 

 Here's how to make it! You'll need:

1 C Watermelon cut into 1 inch chunks
1/2 C Fresh Arugula leaves
2 T Blue Cheese
1/4 C balsamic Vinegar
1T honey or Agave syrup
Edible flowers (optional)

Place balsamic vinegar in a small sauce pan, bring to a boil then lower heat to low and allow to simmer for 3-4 minutes, should reduce by half.  Stir in honey or agave and remove from the heat and set aside.

Arrange greens and melon on a plate and garnish with cheese and flowers.  Drizzle with the balsamic syrup.


 The balsamic reduces down into a thick sauce that is sweet and tart which is an excellent counterbalance to the sweetness of the watermelon.  

I had stopped in Wegmans the other day to pickup some blue cheese and being unsure which one to choose I stood at the counter and had a private tasting.  I tried them all including the English Stilton which was very yummy and equally expensive.  I finally settled on the Buttermilk Blue because it crumbles perfectly and has that sharp blue flavor.
 
 
I used edible flowers to add even more vibrant color to the Water Melon & Arugula Salad.  They don't have a competing flavor so they blended well with the arugula.  Give them a try!  You can procure them from a grocery store or other trusted grower.  Please don't eat the ones that the landscapers planted as they are covered with fertilizer and pesticides. 

Saturday, May 12, 2012

30 Healthy Sandwiches

It's Mother's Day tomorrow, so a break is definitely in order. 

I came across this really yummy looking post on one of Martha Stewart's websites called Whole-Living.  The post offers great ideas on how to make a better sandwich.  There are recipes for 30 Healthy Sandwiches, not that one needs a recipe to make a sandwich.  But, the article has laid some good ground work to inspire more ideas.  Check it out here


I've got my eye on that #7 Crispy Prosciutto Lettuce & Tomato, mmm!

Happy Mother's Day!


Friday, May 4, 2012

Black Bean Sliders with Baked Squash Chips

Beans Beans they're good for your heart, and if you cook them right they won't make you f....t! :D  Well that's not true they will make you toot and well that's just a fact of life.....TMI?

Black Bean Sliders wonderfully flavorful and so cute! Plus they are of course nutritional and cheap!!!  I'll provide the recipe for the burgers, but you'll have to get creative with whatever you have in your pantry for the toppings.

Here's what I used:


For my toppings as you can see I made some guacamole and a mixed one Chipotle Adobo pepper (remove the seeds) and a tablespoon of the sauce into about a quarter cup of mayo.  I also chopped up a sweet orange bell pepper and mixed it into some of the Spicy Mango Ginger Habanero sauce.  I had plenty of that sauce left from the Mango Ginger Habanero Drummettes I made a few weeks ago.  Lastly I sauteed up some onions and mushrooms then piled them on a burger with Swiss cheese.  So get creative and come up with your own fancy toppings. Please let me know what you created.


Along side these protein packed sliders I served Crunchy Baked Squash Chips.  Spray a oven safe baking rack into a cookie sheet and coat wtth non-stick spray.  Wash and dry two medium sized squash.  I used zucchini and yellow squash.  Slice your squash into 1/4 inch thick coins.  Whisk two egg whites until frothy.  Dip the squash in the egg then dredge it in a combination of 1 C Panko Breadcrumbs, 1/2 C flour and 1/2 C Parmesan cheese.  Place squash onto the rack coated and bake at 350 for 20-30 minutes.  Keep an eye on these, my first batch came out a bit darker than I would have wanted, but they were delicious just the same.

You could also serve your Black Bean Burgers with Crispy Baked Parmesan Asparagus too. These are soooo goood!

Here's how you make the Black Bean Burger:


Drain and rinse both cans of black beans, but keep them separated.  Dump one can of beans into the blender with 1 small onion chopped, a small bunch of cilantro (about 2 T). 1 egg, 2 cloves of garlic minced and S&P to taste.  Blend until very well mixed.  Scrape into a mixing bowl.


Add 1/2 C of Panko Bread Crumbs and remaining can of whole black beans.


Mix well to incorporate the bread crumbs and allow them to absorb some of the moisture.  No it's not pretty but either is ground beef really.

Heat a counter top griddle to 350 degrees or heat a skillet over medium-high heat.  Be sure to coat whichever surface you are using with non-stick spray.

With a medium size ice cream scoop drop your burgers onto the hot griddle and lightly press them to flatten with the side of the scoop. 


 Cook until brown then Carefully flip and brown the other side.  Roughly 5 minutes on each side. 


Remove burgers and toast your buns.  Stop steering at your burgers they may look funny but believe me they are tasty, lite and good for you.  Add your favorite condiments and serve them up.  The men folk in this house didn't know they weren't meat by looking at them, until I said something.  They devoured them!


 Black Bean Sliders with Crunchy Squash Chips! 

 Get after it!


, ,
Follow me on Facebook, Twitter and Subscribe to my RSS feed. Oh and I'm on Pinterest too.

Thanks!
Deborah :D
Related Posts Plugin for WordPress, Blogger...